Waterpiks are a very popular at-home dental tool. These devices emit a powerful water jet that can be used to easily and efficiently clean out plaque and other debris from your gums and teeth. While Waterpiks are not particularly complicated, they can be a bit intimidating to use at first. So, how should you use a Waterpik?
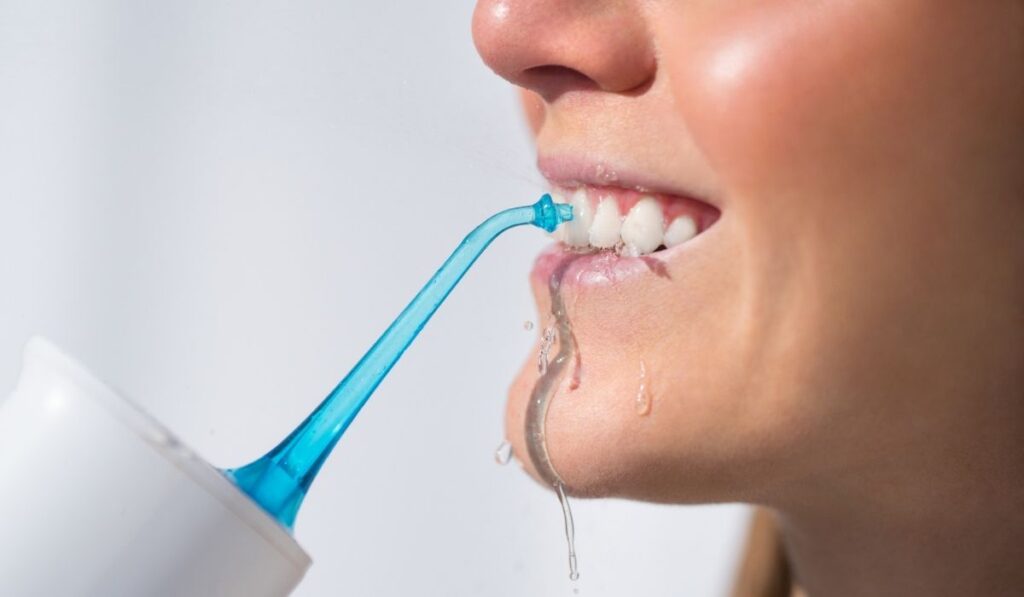
To start, fill the Waterpik reservoir with warm water. Then lean over the sink and place the pick head in your mouth. Turn on the device, aim the pick at 90 degrees toward your gum line, and move slowly through your mouth, trying to avoid direct contact with your gums as you clean around each tooth.
Using a Waterpik is pretty easy, but you may have some questions about how to do it properly, especially if you have any special dental considerations to take into account, such as braces or sensitive gums. We’re going to explore these topics and more; just read on!
How To Use Your Waterpik

Waterpiks are a great way to get a dentist-like clean right at home. They utilize high-pressure water jets to reach every nook and cranny of your gum line.
You’ll find a wide variety of Waterpiks on the market. We recommend the Aquarius Series (on Amazon) as the best option in terms of efficacy and price.
Although there are many Waterpik options, they all operate in a similar fashion. So, how do you use one?
To use a Waterpik, you’ll first need to fill the reservoir with water. From there, it’s just a matter of turning on the device and using the jet to clean out debris from between your teeth. All in all, it’s a simple and easy way to get a better clean than you can with regular dental floss.
Using a Waterpik shouldn’t be a hassle. In most cases, these devices are designed to be user-friendly. You may not even need instructions to set up and use your Waterpik; they’re that intuitive. They rarely have extra parts, and operation is just as easy as the setup.
If you’re still feeling unsure about the process, don’t worry! We’re going to walk you through the process so that you can get the best possible clean with this innovative device.
Steps to Using the Waterpik:
- Fill the reservoir with water. It’s best to use clean, warm water from the tap. (If you have bad tap water, consider using distilled water that’s been heated on the stove.)
- Find the pick that works best for you; there are a few designs available.
- Lean over the sink so that the water has a place to go when it leaves your mouth. (It’s easy to make a mess!)
- Place the pick end in your mouth and turn the device on.
- Start with the lowest pressure and gradually build your way up to higher pressure over time.
- Aim the pick at 90 degrees toward your gum line and move back and forth. Make sure to not touch the gums directly, but just get close enough to push the water between your teeth.
- When you’re finished, turn off the device and rinse everything out. Make sure that no stagnant water sits in the Waterpik reservoir overnight.
That’s about all you need to know. Every week or so, you may want to do a deep clean of your unit. Pay close attention to the pick end itself and the reservoir.
A proper cleaning schedule will prevent potential issues.
Can I Use a Waterpik With Braces?
If you’ve got braces, it may seem like a Waterpik isn’t the best choice. However, the reality is that a Waterpik may be the perfect choice for a person with braces.
Since floss is a struggle to use with braces, the water jet may offer the only way to get between your teeth and remove debris from your gums. So is there anything you need to know for safe operation?
When using a Waterpik with braces, start with the lowest tolerable pressure setting and gradually build your way up the dial as your gums become more accustomed to it. While the jet won’t get too strong, it’s best to start slow. Focus on aiming around the gums and the hardware of your braces, especially the brackets.
Using a Waterpik can provide you with a deeper and more thorough clean than just regular brushing. If you have braces, this may be the only way to get a true clean-mouth experience. Just make sure that you keep things gentle; that goes for brushing too!
How Slow Should I Go When Using a Waterpik?
Using a Waterpik can be a bit intimidating, especially when it’s done for the first time. You’re probably not sure how fast to operate the Waterpik.
When using your Waterpik, the slower you go, the better. Since plaque buildup can happen all across the mouth, it’s best to pay attention to where you are moving and take it slow. This can also help mitigate the effects of the harsh water jet on your gums. If you have particularly sensitive gums, this is certainly the right move.